How to Set IP Address in PLC and HMI
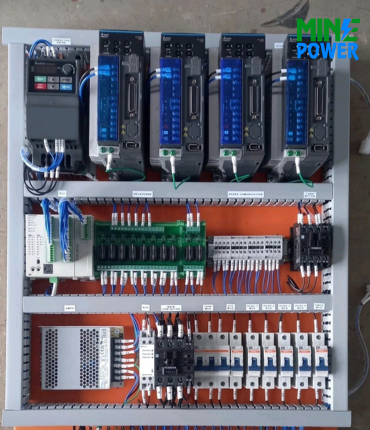
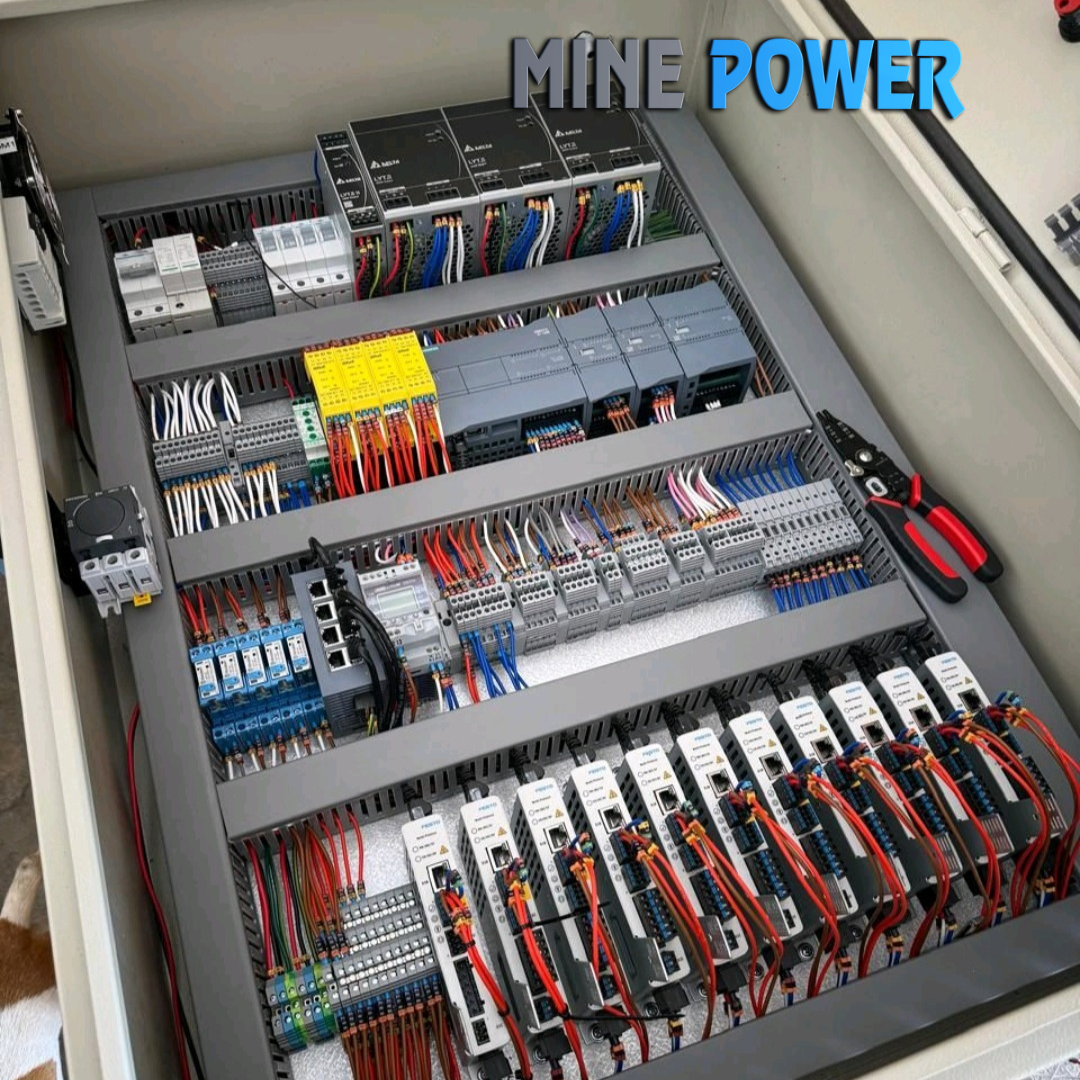
Caption: PLC/HMI IP Address Configuration
In modern industrial automation systems, communication between controllers and operator interfaces is typically established through Ethernet networks. To enable proper communication between a PLC and an HMI, both devices must be configured with the correct IP address settings.
This guide explains the basic concept and practical steps to configure an IP address in PLCs and HMIs used in industrial automation systems.
What Is an IP Address in Automation Systems?
An IP address (Internet Protocol Address) is a unique identifier assigned to devices on an Ethernet network. In automation systems, PLCs, HMIs, SCADA computers, and remote I/O modules use IP addresses to communicate with each other.
A typical IP configuration includes:
-
IP Address – Unique device address
-
Subnet Mask—Defines the network range
-
Gateway—Used for communication outside the network
Example configuration:
| Parameter | Example Value |
|---|---|
| IP Address | 192.168.1.10 |
| Subnet Mask | 255.255.255.0 |
| Gateway | 192.168.1.1 |
Why IP Address Configuration Is Important
Correct network configuration ensures:
-
Reliable communication between PLC and HMI
-
Stable SCADA monitoring
-
Easy system troubleshooting
-
Faster commissioning of automation systems
Incorrect IP settings can cause communication failures, device conflicts, or system downtime.
Steps to Set IP Address in a PLC
1. Connect PLC to the Computer
Connect the PLC to your engineering computer using:
-
Ethernet cable
-
Network switch (for multiple devices)
2. Open PLC Programming Software
Use the appropriate software depending on the PLC brand, such as
-
TIA Portal
-
GX Works
-
EcoStruxure Machine Expert
-
CX Programmer
3. Access Ethernet Configuration
Navigate to the communication settings or Ethernet parameters in the software.
4. Assign the IP Address
Enter the required values:
-
IP Address
-
Subnet Mask
-
Gateway
Ensure the address is unique within the network.
5. Download the Configuration
Download or write the configuration to the PLC so the new network settings become active.
Steps to Set IP Address in an HMI
1. Open the HMI Configuration Software
Launch the software used for the HMI, such as
-
WinCC
-
GT Designer
-
Vijeo Designer
-
NB Designer
2. Open Network Settings
Locate the Ethernet settings or communication parameters.
3. Enter IP Configuration
Assign:
-
IP address for the HMI
-
Subnet mask
-
Gateway (if required)
Example:
| Device | IP Address |
|---|---|
| PLC | 192.168.1.10 |
| HMI | 192.168.1.20 |
Both devices must be in the same network range.
Testing PLC-HMI Communication
After configuration:
-
Connect PLC and HMI through a network switch.
-
Ensure both devices are powered.
-
Use the Ping command from the computer to verify communication.
-
Download the HMI project and test screen data.
If configured correctly, the HMI will start reading PLC tags and displaying real-time data.
Common Troubleshooting Tips
If communication fails:
-
Check IP address conflicts
-
Verify subnet mask settings
-
Ensure Ethernet cable connections are correct
-
Confirm PLC protocol configuration
-
Restart devices after configuration changes
Conclusion
Setting the correct IP address in PLC and HMI devices is a fundamental step in industrial automation networking. Proper configuration ensures smooth communication, reliable monitoring, and efficient system control.
By understanding IP addressing and network setup, engineers and technicians can commission automation systems faster and troubleshoot communication issues effectively.